Can you truly harness the power of your Raspberry Pi, even when you're miles away from it? The ability to remotely access and manage your Raspberry Pi is not just a convenience; it's a gateway to a world of possibilities, from personal projects to smart home control, and beyond.
The challenge of accessing your Raspberry Pi from outside your local network is a common one. Many users find themselves restricted, unable to fully utilize the potential of their devices. However, the good news is that overcoming this limitation is entirely achievable. Whether you're a seasoned tech enthusiast or a curious newcomer, the methods described here will empower you to connect to your Raspberry Pi securely and efficiently, no matter your location. The essence lies in understanding and implementing the correct techniques to establish a remote connection. This involves configuring your Raspberry Pi for remote access, ensuring a secure connection, and using the right tools to make it all happen.
Consider the scenario: You've set up a Samba server on your Raspberry Pi 4, and it's working flawlessly on your local network, allowing you to access files from any device in your home. But, the moment you step outside, the access vanishes. The desire to maintain this connectivity, to access your files from anywhere, at any time, is a common sentiment. Its a testament to the versatility of the Raspberry Pi and the desire to utilize it fully.
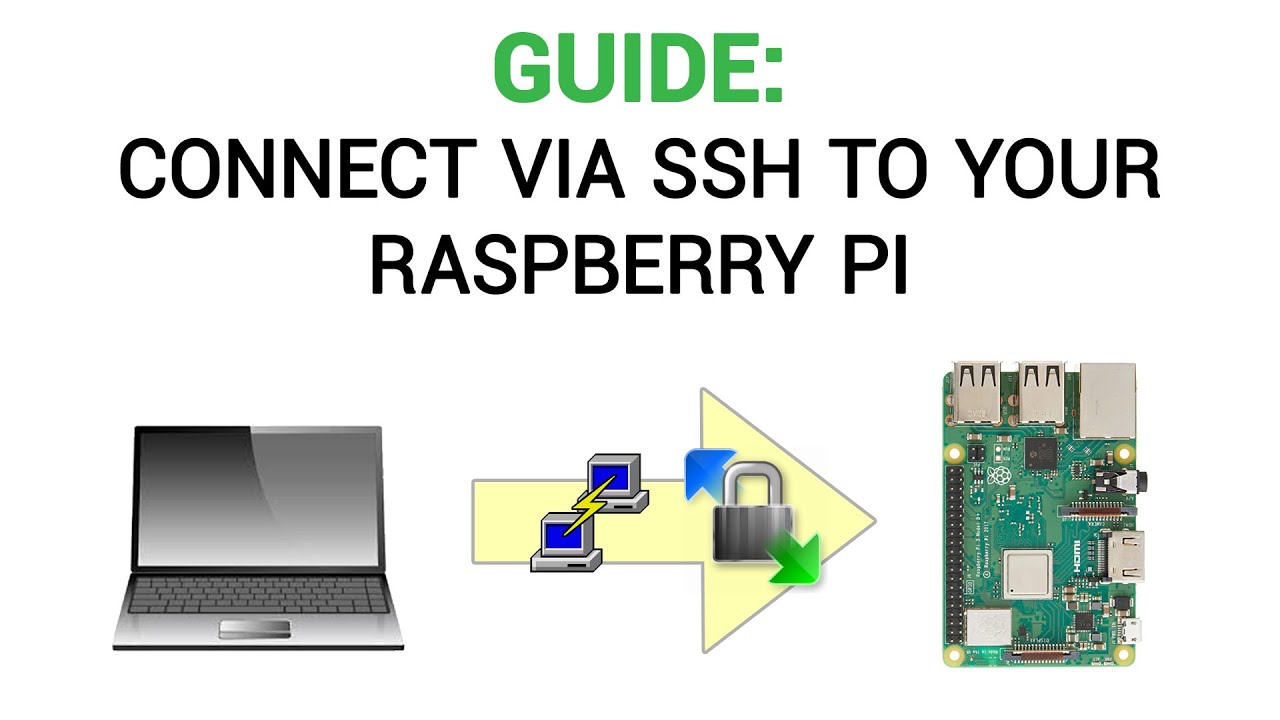
The foundation of remote access often hinges on two primary techniques: SSH (Secure Shell) and VNC (Virtual Network Computing). SSH provides a secure terminal session, allowing you to execute commands and manage your Raspberry Pi from a distance. VNC, on the other hand, offers a graphical remote desktop experience, replicating your Raspberry Pi's display on your remote device. However, before you can utilize either of these methods, the SSH service must be enabled on your Raspberry Pi. This seemingly simple step is crucial to leveraging the remote management features, turning your device into a remotely accessible powerhouse.
Imagine you're tackling a personal project that demands your attention, even when you are not at home. Perhaps you're managing a smart home setup. Maybe you simply want to have access to the files on your Pi from anywhere in the world. This is the premise behind enabling remote access to your Raspberry Pi. Accessing the device from another computer is a common request, especially considering its compact size and low energy demands, making it ideal for remote deployment.
One of the first steps involves enabling SSH on your Raspberry Pi OS. This activates the Secure Shell service. In essence, SSH gives you a secure path into your Pi's underlying Linux operating system. This enables the command-line interface, allowing you to control your device from a distance. Enabling SSH creates a secure, remote connection to your Pi so that you can use it anywhere. To fully leverage the remote management features, enabling the SSH service is essential.
Many individuals may find themselves in a situation where they can connect via SSH on their local network, but are struggling to access it externally. This is a common experience, but it is not an insurmountable obstacle. There are several ways to achieve access to your Raspberry Pi through the internet.
If you are using a tool like `pi connect`, keep in mind that copy-pasting files directly might not work. Some users have reported that only text on the clipboard can be used. It is always a good idea to verify what features are supported by the tool you are using.
To connect to your Raspberry Pi remotely, you'll need to know its IP address. This can be easily determined if you have a display connected to the Pi. Alternatively, there are methods to find it remotely from another machine on your network. You will need to access your Raspberry Pi using an SSH client, like PuTTY. To connect to your Raspberry Pi using PuTTY, you'll need to enter the IP address, username, and password you previously configured.
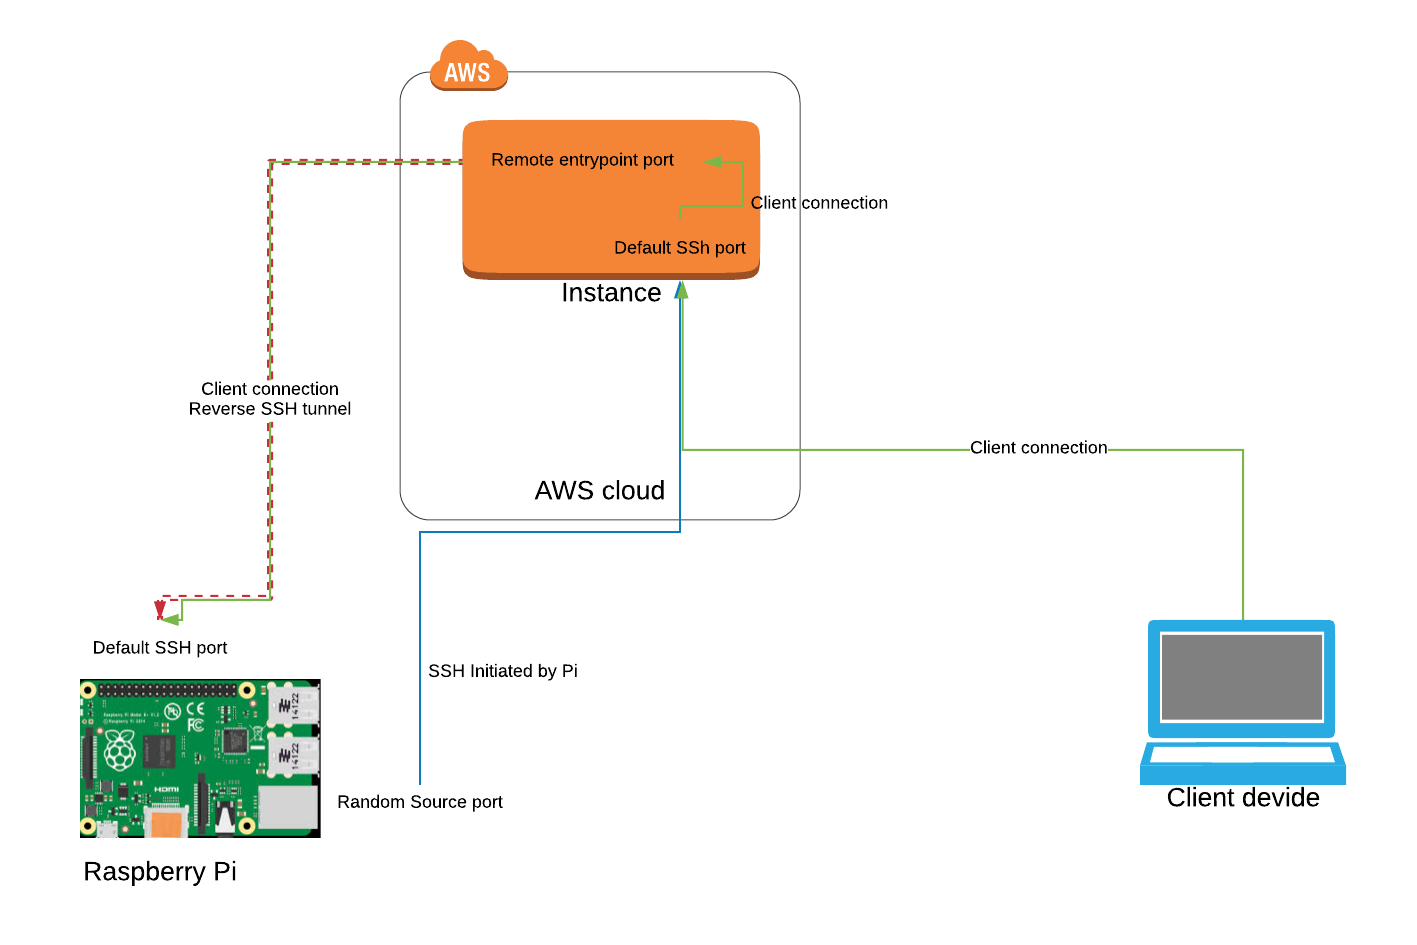
Let's delve into some of the popular and secure ways to accomplish remote access. One such method involves using tunneling services like Cloudflare Tunnel. Cloudflare Tunnel is particularly useful because it allows you to expose your Raspberry Pi without needing to open any ports on your router. This can be a significant advantage in terms of security.
The setup is relatively straightforward:
- The first step is to choose the type of connector. In this case, select "cloudflared" and click "next".
- Install the connector (the client which is set up on your Raspberry Pi).
- Once the tunnel is online, you can access your Raspberry Pi terminal using PuTTY from anywhere.
Another approach involves using a tool like ngrok, which creates a secure tunnel to your Raspberry Pi. This allows you to access your device using the same tools as a local connection, no matter your location. When using ngrok, you can run a specific command in your Raspberry Pi's terminal to enable access from a remote location. For example, you might use the command `ngrok tcp 22`. This will expose port 22, the standard port for SSH. The "online" status of the tunnel will indicate you are ready to connect using a program like PuTTY.
Once you have chosen your method and set up the required tools and configurations, the procedure for connection remains consistent. Begin by finding your Pis IP address with the `ifconfig` command. Then, connect via SSH using a terminal or a tool like PuTTY. You would then use the command `ssh pi@`. The username and password, which you will enter when prompted, will authenticate your access. You can then input the host address and the port number, shown in the picture or documentation for your particular tool.
Setting up your Raspberry Pi with a static IP and enabling remote SSH access is a great way to maximize its utility and securely manage it from anywhere. Whether youre using it for personal projects or as a part of your smart home setup, these steps will ensure a reliable and secure connection.
For secure communication, consider using certificates. Certificates are used to secure communications and verify the identity of websites and other entities. In C, you can read certificates from a store using the system.security.cryptography.x509certificates namespace.
It's important to remember that there are other solutions available for remote access to Raspberry Pi. The most common is to use SSH or VNC. Additionally, it is important to remember that remote access is also a way to control the device. Fortunately, there are different methods available to restart your Raspberry Pi remotely. These methods include using SSH to access the command line interface, utilizing VNC to establish graphical remote desktop access, or employing a remote power switch to turn the device on and off remotely.
Heres an example of how to connect using the command-line interface in a standard Linux environment. Suppose you are running Linux on your desktop. You can launch your terminal and type `ssh pi@`, followed by your password. This will provide you with a direct terminal connection to your Raspberry Pi.
Let's say that you've set up a Samba share on your Raspberry Pi. You're able to access the files stored on your Raspberry Pi from any device connected to your home network. However, the problem arises when you want to access them outside your home network, from anywhere, anytime. The steps outlined above will help you set up that external access.
Consider Tailscale SSH. Tailscale provides a secure, remote connection to your Pi. Using Tailscale enables access to your Raspberry Pi anywhere in your house, car, classroom, or server room.
If you have any doubts, double-check your spelling or rephrase your query. The internet offers many resources that can help clarify the finer points of SSH setup, troubleshooting tips, and other topics. The initial setup will require a bit of work, but it pays off in the long run.
In essence, the power to manage your Raspberry Pi from any location is within your grasp. By implementing the correct methods, from configuring SSH to utilizing tunneling services, you can unlock the full potential of your device, making it a valuable asset for your projects and your smart home.